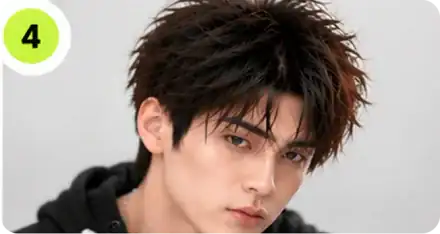
Complete styling steps
Step 1 · Part hair & dry roots first
After washing, blot hair with a towel until no drips. Never style with wet inner layers.
Towel-dry hair
After washing, blot hair with a towel until no drips. Never style with wet inner layers

Dry roots by lifting hair
Hold the hairdryer in one hand, lift hair with the other.Expose roots on top & sides.Follow your fingers to blow into inner layers, don’t only dry the surface.
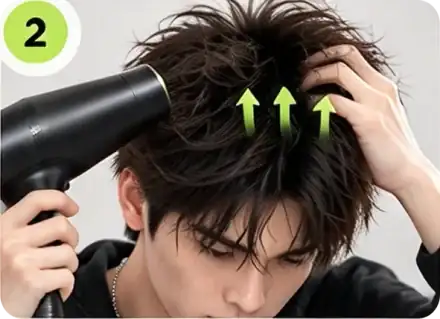
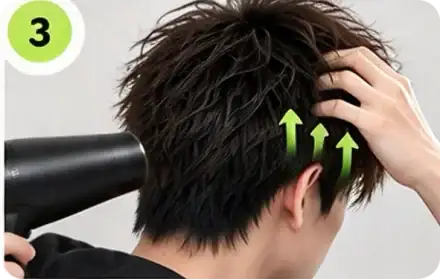
Dry the back of your head section by section
Work in small sections, lift hair at the nape.Keep distance & move the nozzle continuously.Lower heat or move away if it feels hot.
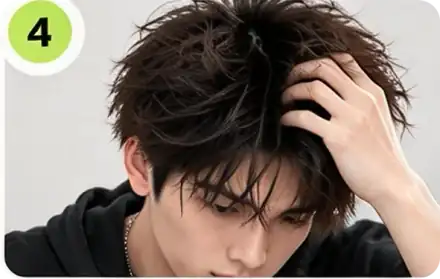
Check dryness
Pause, part hair to inspect inner roots.Re-damp spots need mor heat.Hair must be fully dry before straightener use.
Step 2 · Hold hair ends, blow bang roots upward
Lift bang roots for volume, while keeping ends falling naturally forward.
Locate your middle bangs
Use your free hand to hold the midsection and ends of bangs to prevent flyaways. Leave roots open for airflow, avoid flattening roots.
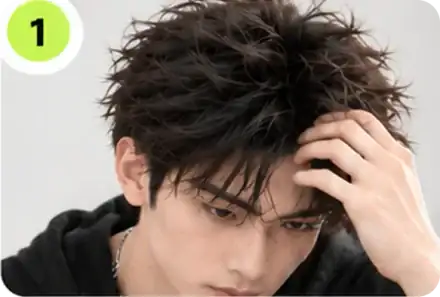
Blow from bottom to top
Point the hairdryer upward at bang roots. Hold hair ends steady while adjusting position. Lift roots and keep ends forward. Keep hot air away from your face and eyes.
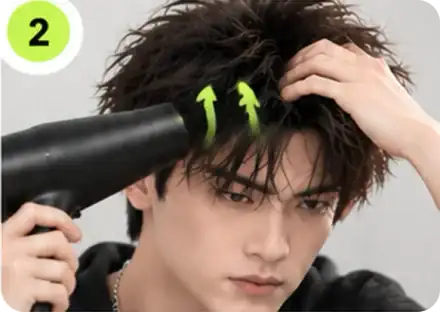
Fix upward-flipped ends
If ends flip too high: Place your hand under bangs on the forehead to hold shape. Blow lightly downward on flipped ends, do not flatten roots again.
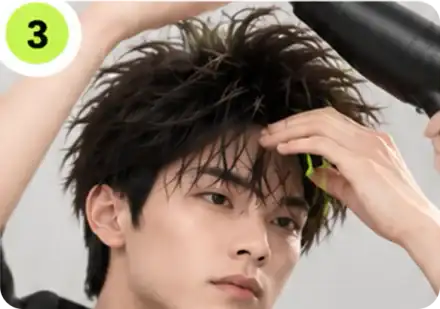
Remove hairdryer and check result
Take away the dryer, release hair and check in mirror. If roots collapse, re-blow roots. If only ends stick up, adjust ends only, no full redo.
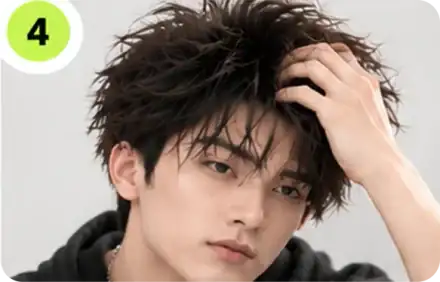
Step 3 · For fine flat hair, Create texture with straightener
About 8–10 mins. Move on only when your technique is correct.
Check if you need a straightener
Skip this step for thick coarse hair or permed hair with natural hold, go straight to clay.Use the method below to add texture if you have fine hair that easily collapses after blow-drying.

Divide hair into Left, Middle, Right sections
Facing the mirror, split the top hair into 3 vertical sections.Use section clips to hold unused hair; if no clips, pull side hair aside by hand.
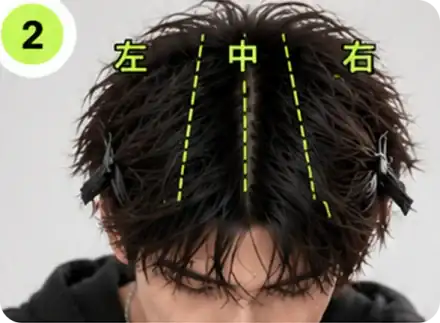
Work with thin slices each time
Do not take big chunks.Start from the back where you can easily reach, work forward slice by slice.Leave hard-to-reach nape hair for the clay styling step later.
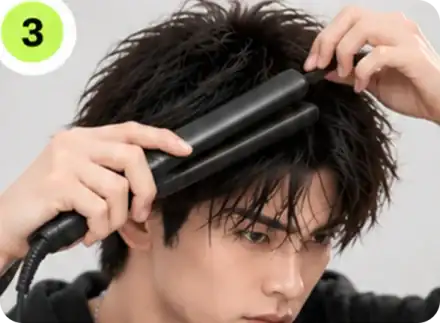
Use straightener only on fully dry hair
Start with low heat. Keep iron near roots (not touching scalp) and avoid lingering.
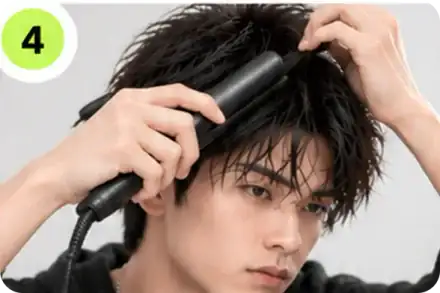
Step 4 · Style bangs last;lift middle inward, curve sides in
About 8–10 mins. Move on once your technique is correct.
Middle bangs: Lift upward
Take thin slices of middle bangs. Glide straightener upward to build support. Do not lift side bangs together.
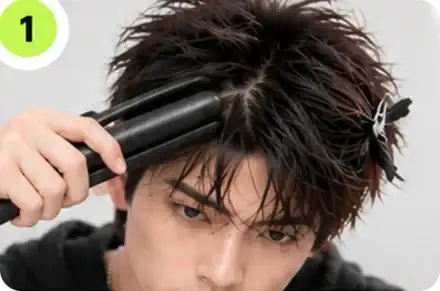
Side bangs: Curve inward
Style side bangs separately. Glide iron down, curve ends slightly inward for a neat frame at temples.
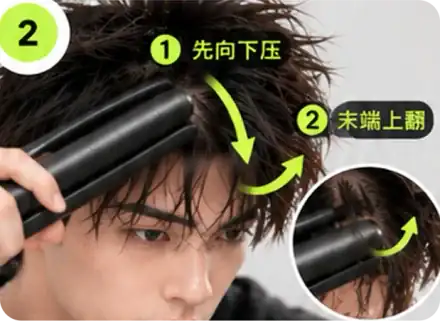
Release & tousle
Wait until cool, then loosen hair. Just keep middle lifted and sides curved; sharp spikes come later.
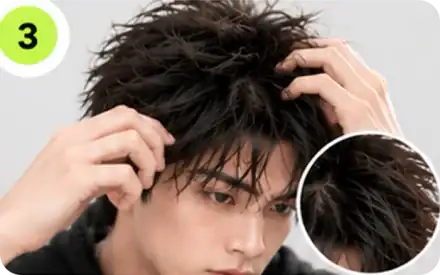
Put down the straightener
Turn off the iron and place it on a heat-resistant surface. Nape hair can wait; use hair clay next for lift.
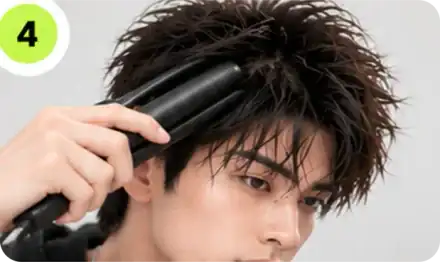
Step 5 · For fine flat hair, Create texture with straightener
About 8–10 mins. Move on once your technique is correct.
Grab strands crossing your parting
Take hair from both sides of your natural parting and combine into a small section.Avoid using hair from only one side, or the parting will still split.
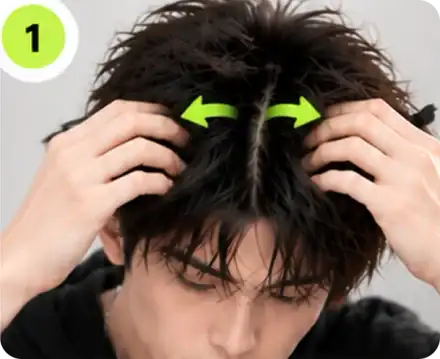
Use fold styling technique
Apply the fold method from the previous step.Work backward to forward with small slices, leave side hair untouched.
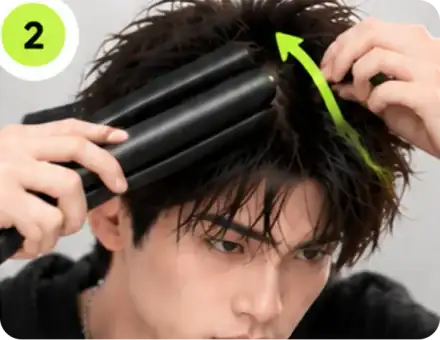
Tousle and check texture
Wait for hair to cool then tousle each section.Stop once layered texture appears; no need to iron every strand.
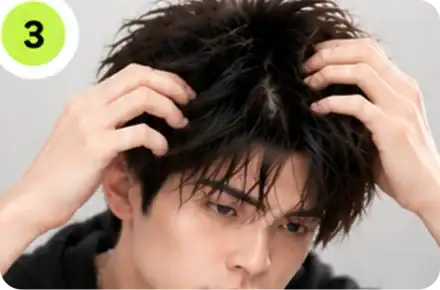
Step 6 · Style bangs last; lift middle up, curve sides inward
About 8–10 mins. Move on once your technique is correct.
Middle bangs: lift upward
Take thin slices of middle bangs. Pull straightener upward to build support. Do not lift side bangs.
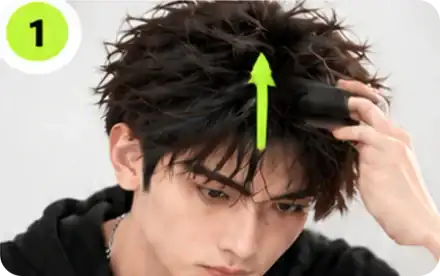
Side bangs: curve inward
Style side bangs separately. Slide iron down, slightly curve ends inward to frame temples.
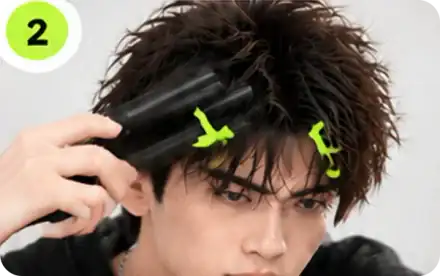
Release & tousle
Wait cool then loosen hair. Keep middle lifted and sides curved; neat spikes come later.
Put down the straightener
Power off iron and set on heat-resistant surface. Skip nape; use hair clay next for lift.
Step 7 · Shape with hair clay, lock with hairspray
About 8–10 mins. Move on once your technique is correct.
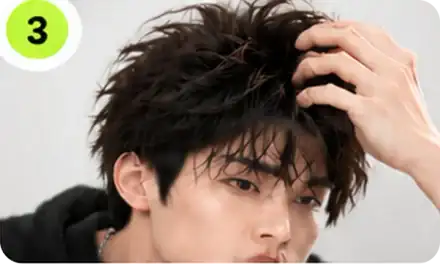
Take a small amount of clay
Scoop a tiny bit of clay/wax on one finger. Start with a thin layer; add more only if needed.
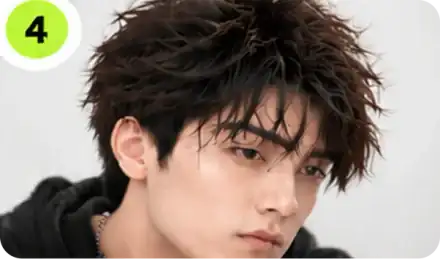
Rub clay evenly between palms
Rub product thoroughly on both hands until smooth.
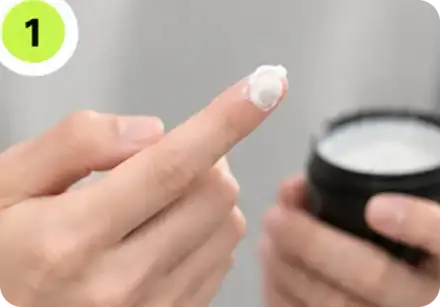
Lightly coat hair surface
Use thin product layer on palms to gently glaze hair top. Do not press hands to scalp or rub clay into roots.
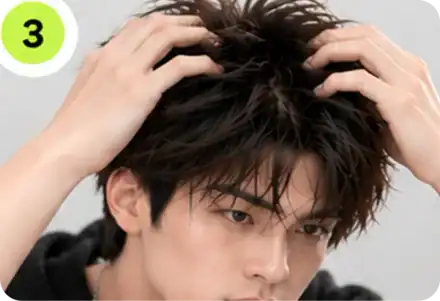
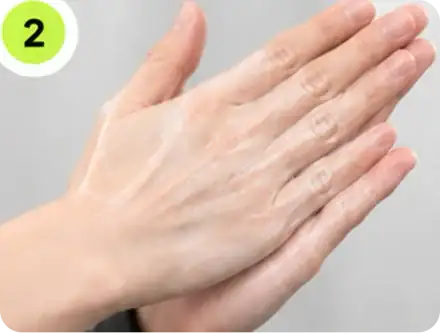
Start shaping after even coverage
Coat hair surface first, then shape. Stop adding product if hair clumps or feels heavy.
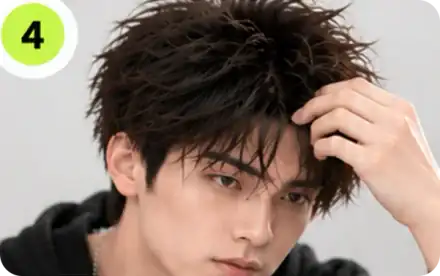
Step 8 · Shape with hair clay, lock with hairspray
About 8–10 mins. Move on once your technique is correct.
Lift middle bangs upward
Spread fingers under middle bangs and gently lift up. Shape with leftover clay on hands; do not add more clay to roots.
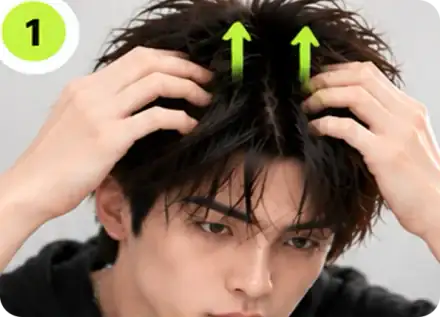
Curve side bangs inward
Separate side bangs. Glide fingertips down then inward, to create a curveframing temples. Avoid outward spiky ends.
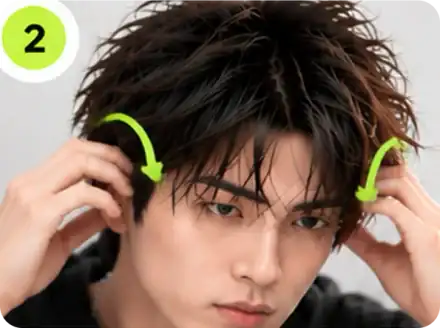
Pinch fine tips
Pick small front hair sections. Pinch ends gently with thumb & index finger to form thin strands. Use only tiny portions each time.
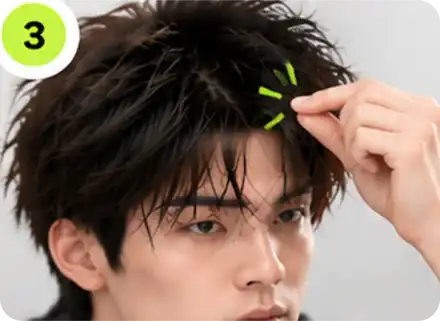
Check your look in the mirror
Check: lifted middle bangs + inward curved sides. No uniform height, and do not twist hair tight from roots.
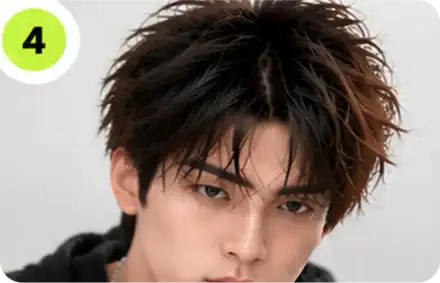
Step 9 · Shape with hair clay, lock with hairspray
About 8–10 mins. Move on once your technique is correct.
Lift the back upward
Use leftover product. Reach under nape hair, gently lift up then pull fingers out to fill out the back silhouette.
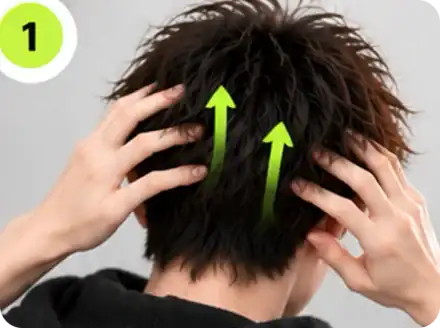
Fill flat spots
Work across left, middle and right areas. Boost flat sections. No need to spike every strand; check shape in mirror.
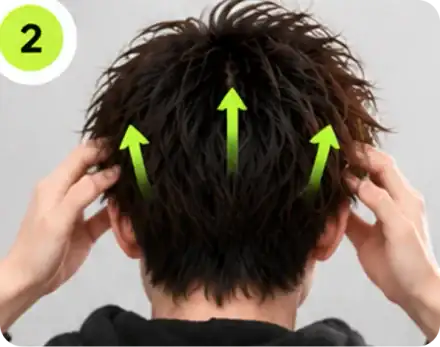
Tame side outlines inward
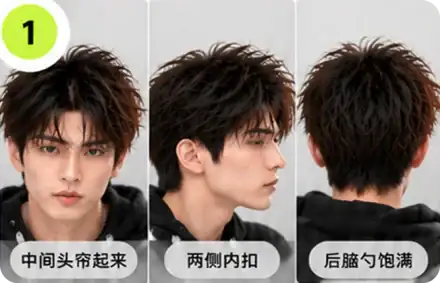
Lightly press outer sides inward to refine contour. Do not flattenthe roots on side top.
Tweak details, preserve overall style
If too flat and lifeless, slightly lift hair from below. Only fix small messy spots, avoid ruining finished bangs.
Step 10 · Shape with hair clay, lock with hairspray
About 8–10 mins. Move on once your technique is correct.
Check overall shape first
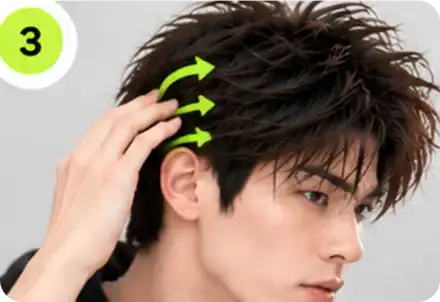
Verify three areas: lifted middle bangs, inward curved side bangs, full nape. Adjust before spraying; avoid major changes after hairspray.
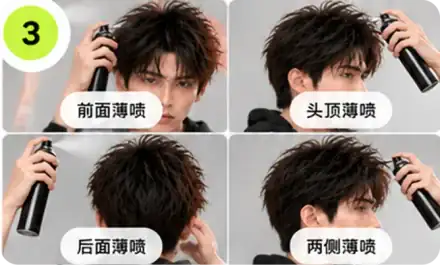
Lightly spray hairspray all over
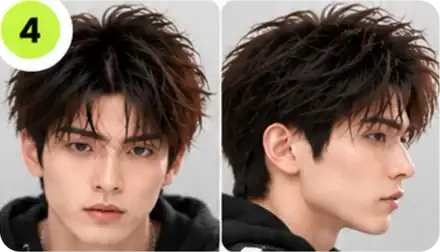
Keep proper spray distance. Shield your face and eyes. Spray lightly across front, top, sides and back, not only bangs.
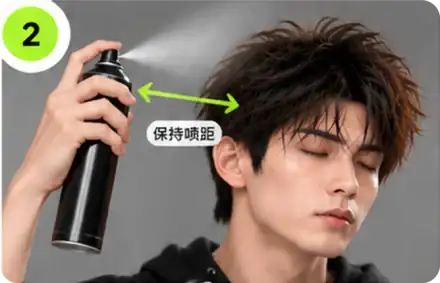
Spray sections thinly, do not soak hair
Do not over-spray one spot. Let first coat dry, then touch up flat areas if needed.
Final check after spraying
Check once hairspray dries. Do not disrupt textured tips. Confirm shape holds, styling complete.